- Color Education
-
-
-
Color Knowledge
-
Current position:Home > Color Knowledge
-
How to use benchtop tiny aperture gloss meter?
-
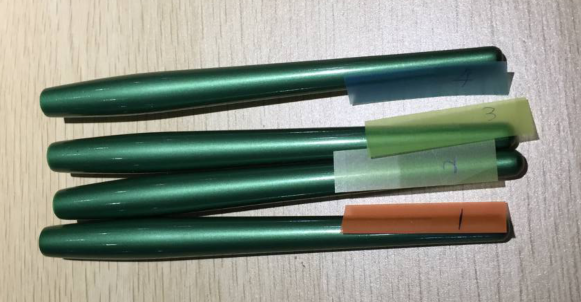
Step 1. Prepare Samples (I mark number for the samples).
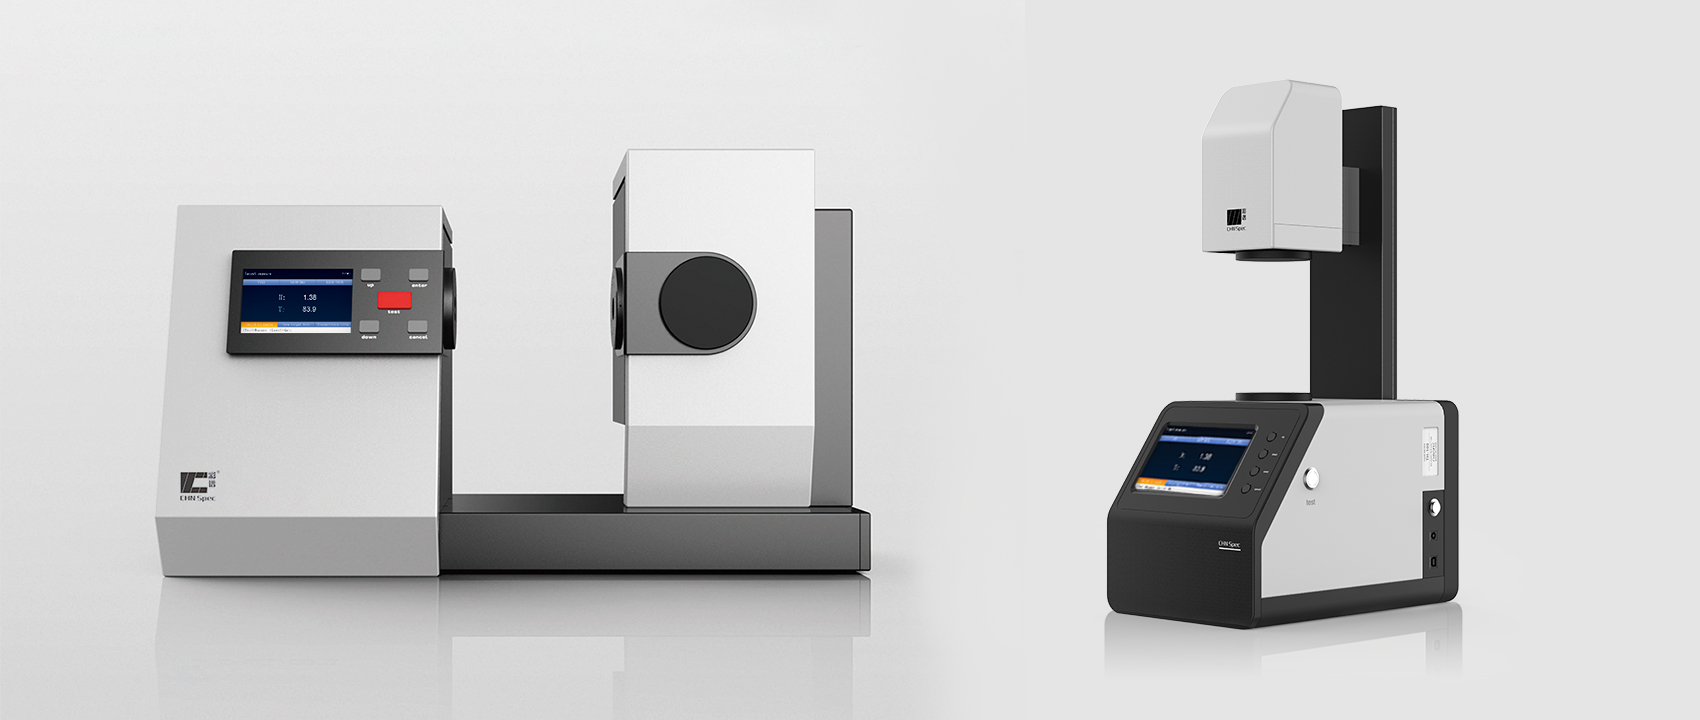
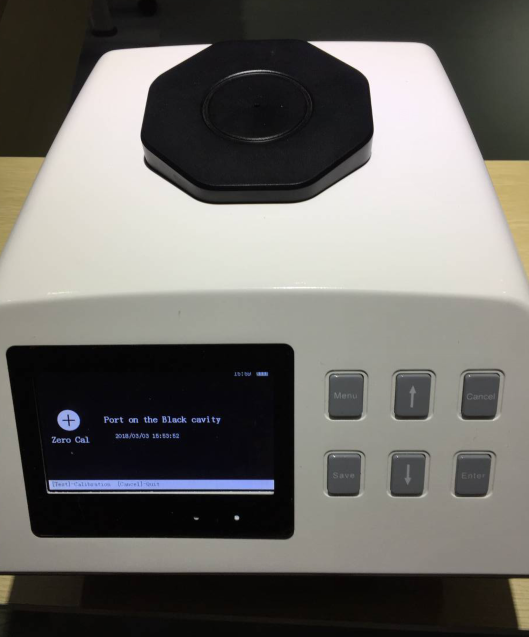
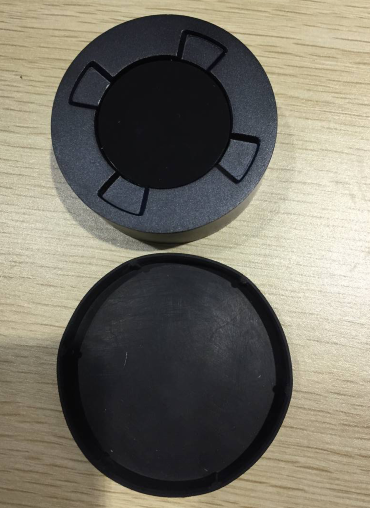
Step 2. Prepare Instrument with calibration tiles.
The left one is for zero calibration and the right one is for gloss calibration.

Step 3. Calibration
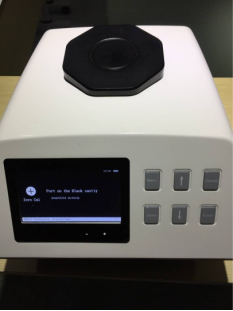
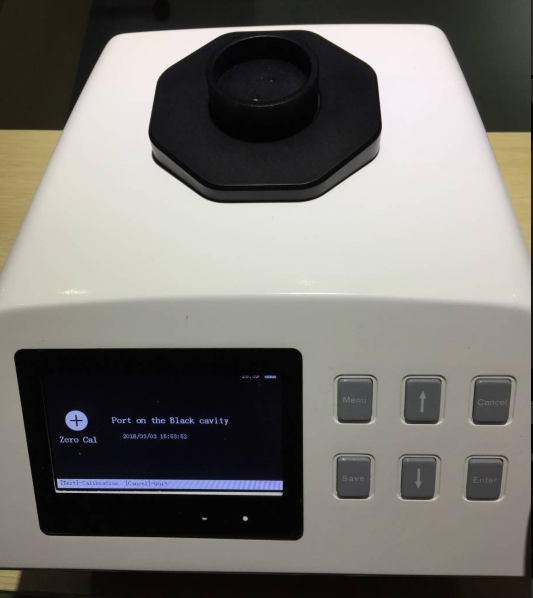
1). Zero Calibration
Put zero calibration tile on the instrument aperture, and then press “test” to do zero calibration.

2). Gloss Calibration
Put gloss calibration tile on gloss meter, then press “test” for measurement.
Step 4. Test
Put sample on the test aperutre and then press test. Then we will get the following test result for the four samples.
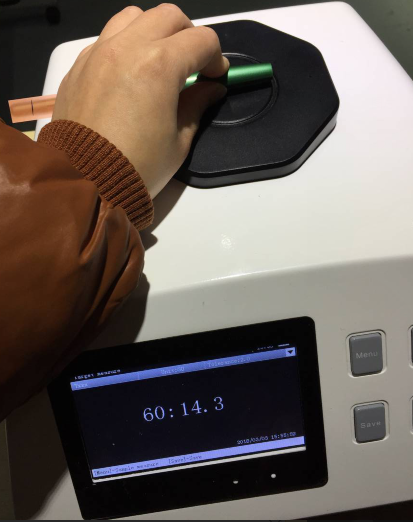
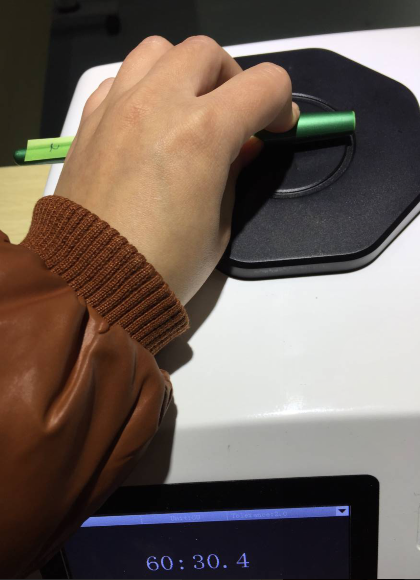
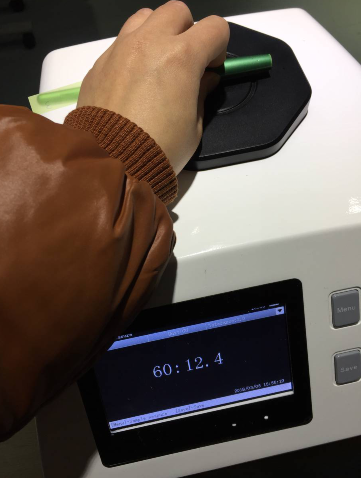
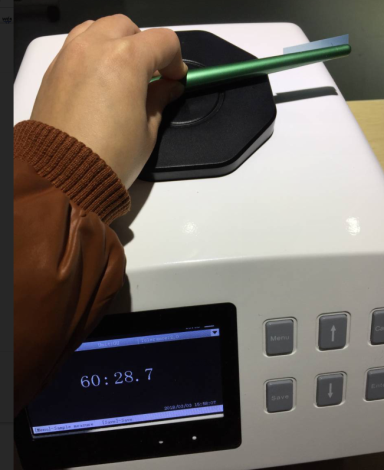
Sample Number Test Angle Test Result (GU) 1 60° 14.3 2 60° 30.4 3 60° 12.4 4 60° 28.7
-
About us l News information l Customer Service l Contact l Color Education | Sitemap
Tel:+86 (0)571 85888707 Email:ivyzhang@colorspec.cn